
Do you want to go to certain files quickly?
The little-known Tags feature in MacOS is the handy and simple way to do this.
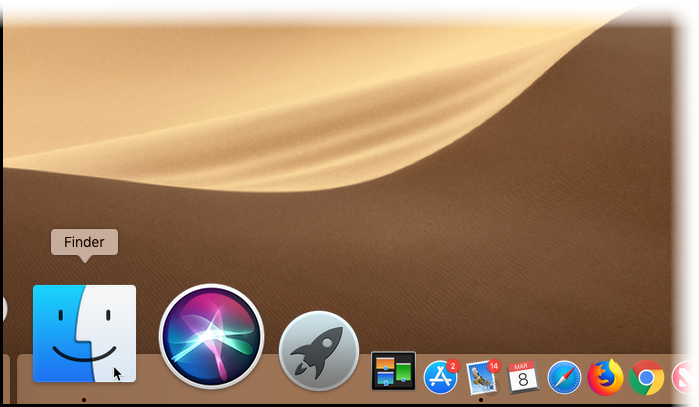
If you click the Finder icon…
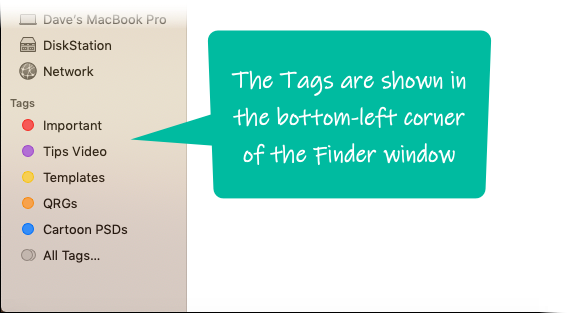
You’ll see your Tags in the bottom-left corner of the screen…
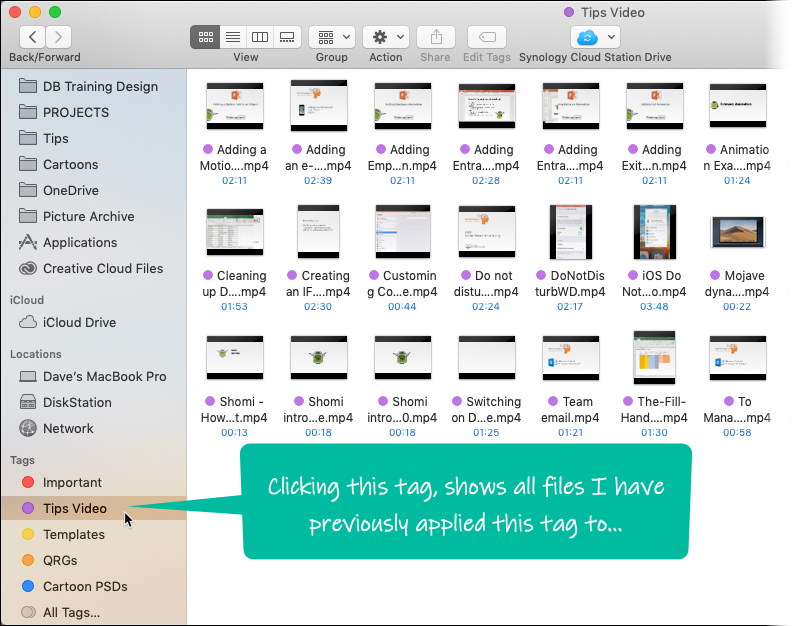
You can apply any of these tags to any of your files on your Mac and this makes them easier to find…
So how do you set up Tags?
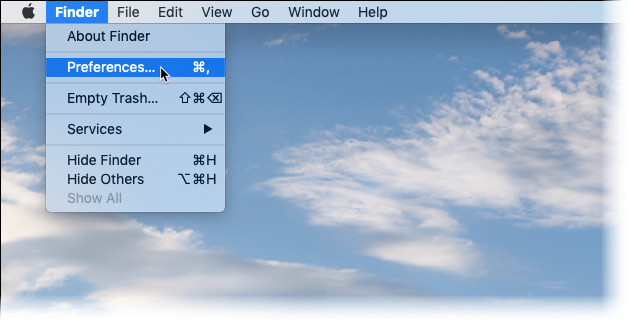
Click Finder, and then go to the Apple menu and select Finder – Preferences…
Then click the Tags tab, and you’ll see that you can modify any existing tags or create new ones from here…
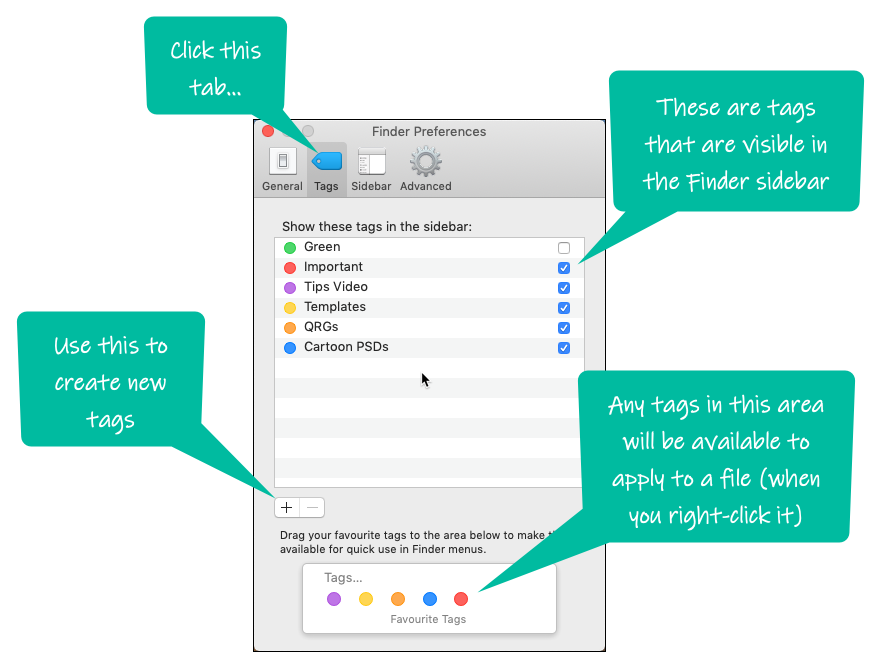
Then you can rename an existing Tag, or create a new one…
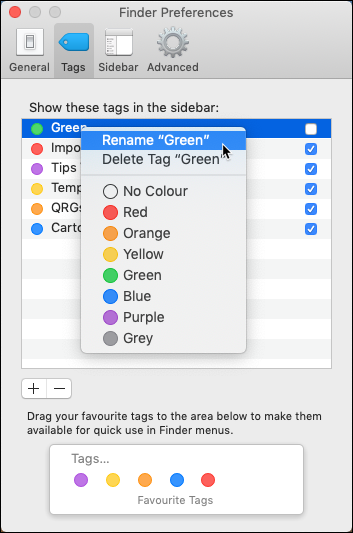
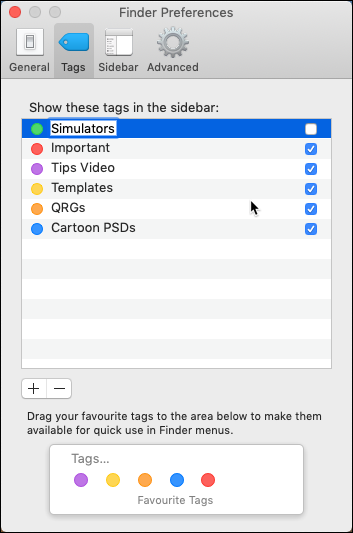
You right-click the Tag and select Rename, type the name and press Enter…
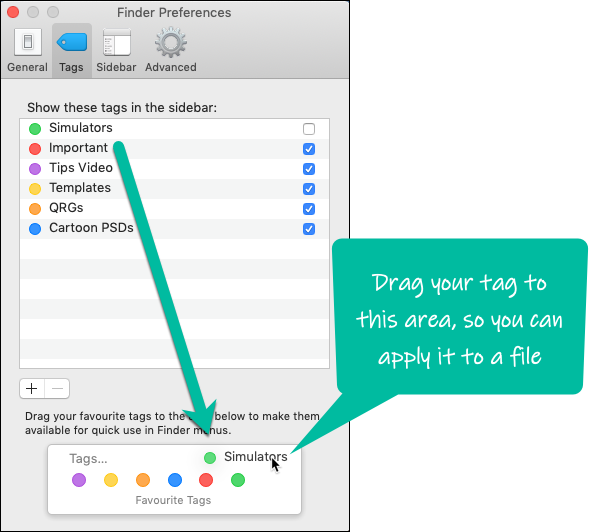
Then you drag the renamed tag down to the Favourite Tags area so it is available when you want to apply it (via the right-click menu)…
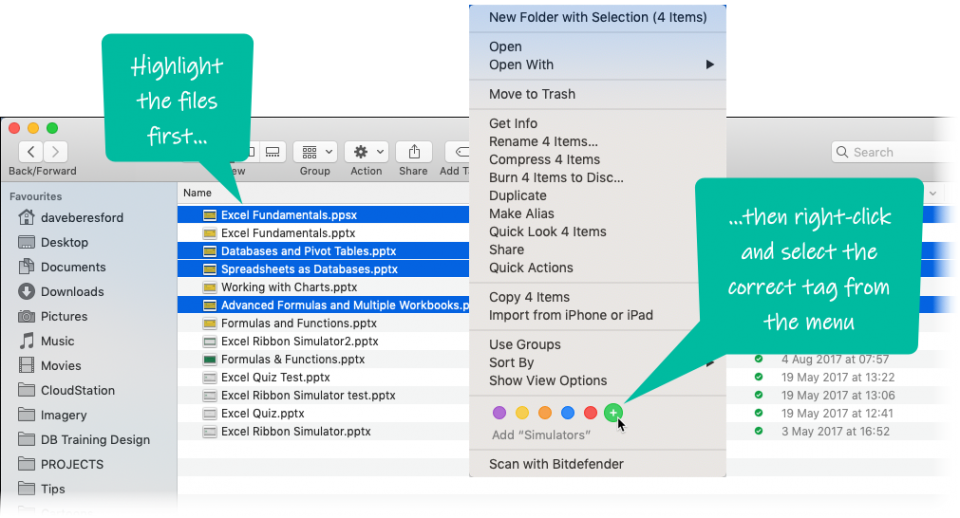
Now, when you are in a Finder window you can easily apply it to a file (or series of highlighted files)…
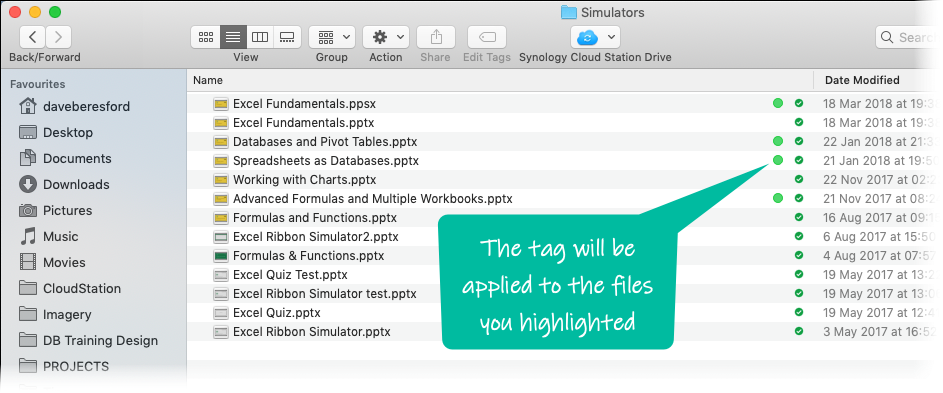
When you’ve finished, the tag will show in Finder…
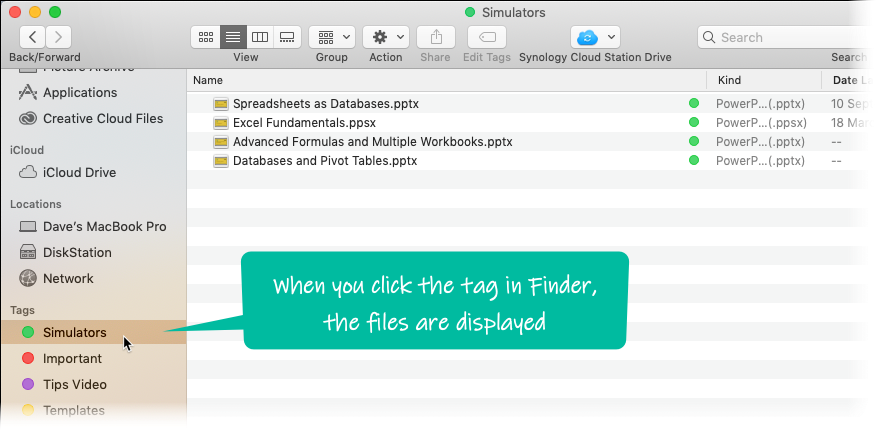
When you then click the tag in the Finder window, you’ll just see the tagged files…
Have a look at this video, which shows you the full process:
