So how do you keep track of all those complex animations you’ve just applied?
After all, when you realise you can animate everything – things can get a bit hard to follow!
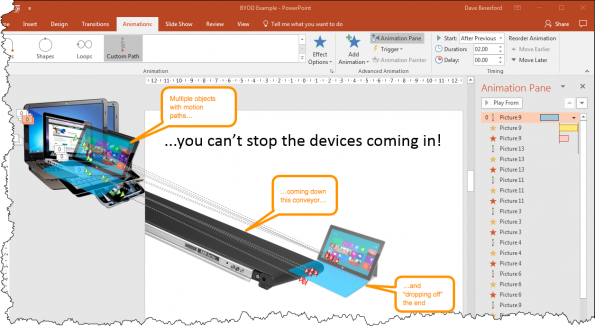
For example, a slide like this that has multiple images of devices sliding down a conveyor belt and then “falling off” the end in turn…
Have a look at this video to see how the final slide looks:
The problem comes when you need to go back to it and understand what the hell is going on and how you did it originally!
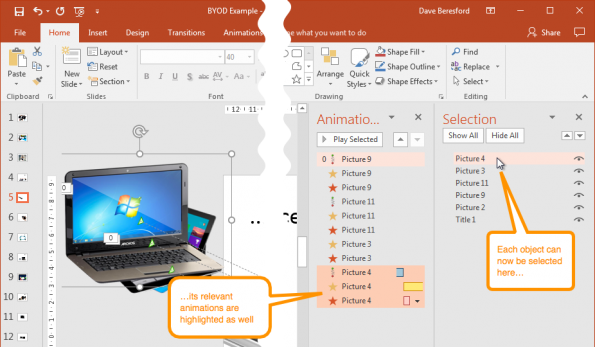
When you have something like this showing in the Animation Pane it can be very confusing – which object is which?
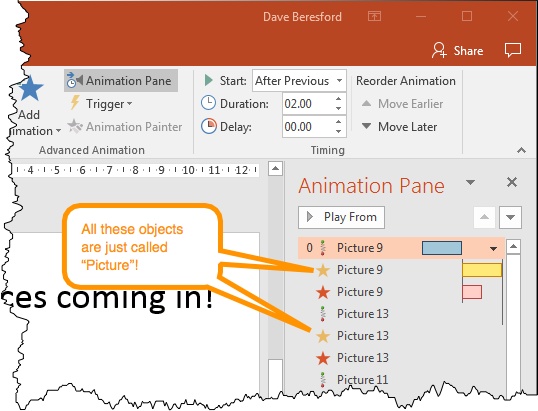
This is where a bit of basic organisation comes in. Do this when you’re creating your slide and as you build the animations up…
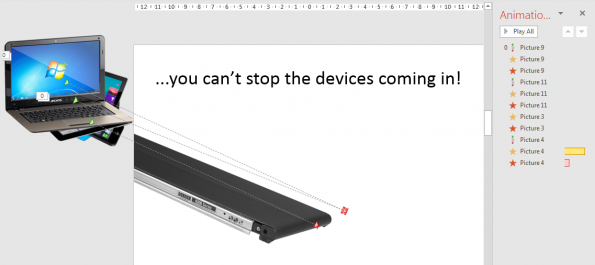
Here is the same slide with just 4 animated objects…
Step 1: Show the Selection Pane
This is not a well know feature of PowerPoint, but if you’re animating things – THE BEST THING IN THE WORLD TO KNOW!
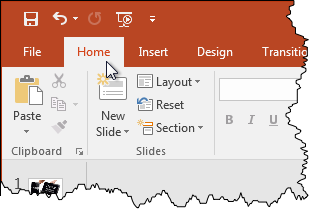
Select Home…
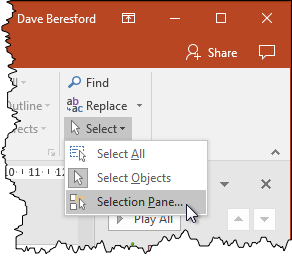
…then click Select – Selection Pane (far right-hand side)
Now you see the objects themselves listed out in order of “top” (furthest in front) to “bottom”…
Step 2: Name the objects in the Selection Pane
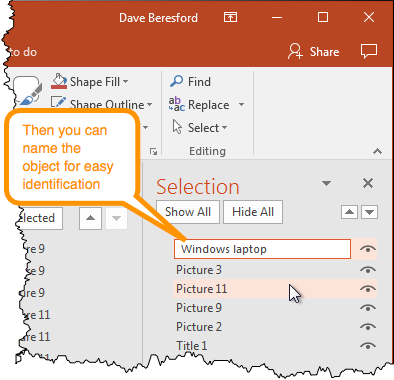
You can now give each object a name to identify it in future…
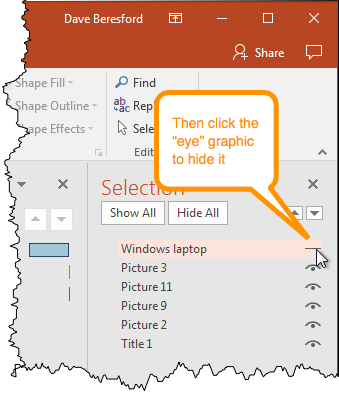
Step 3: Hide the current object
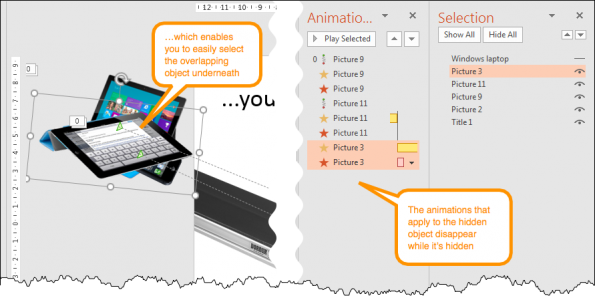
Once you’ve done this, you can hide the object on top and select the one below and name that…
This makes it so much easier to select the things that are overlapping. The animation that applies to the hidden objects then disappears temporarily…
Step 4: Repeat until all objects are named
Then you can repeat this process, until all your objects are named (don’t forget to click closed eye symbol to “unhide’ the objects again…
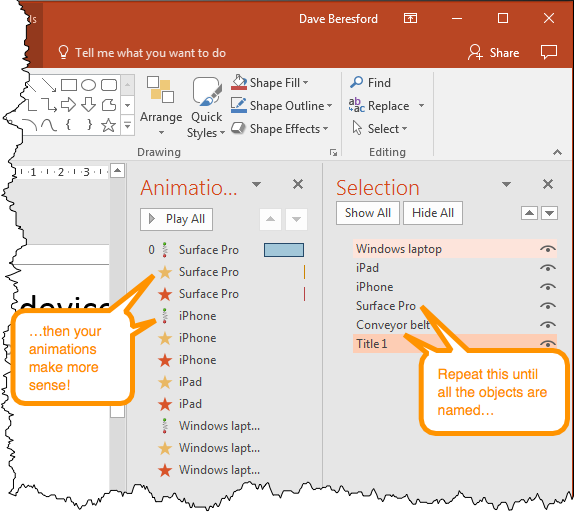
Now your animations should make sense!
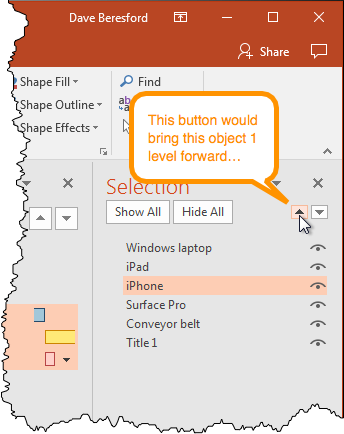
The other great thing about the Selection Pane is that you can change the order of the overlapping objects as well…
