Don’t waste time typing the same thing…
…e-mail signatures in Outlook are really easy to do and save you loads of time.
How to create a signature in the Windows version of Outlook (using Office 365)…
To create one, you’ll need to start a new message in Outlook first…
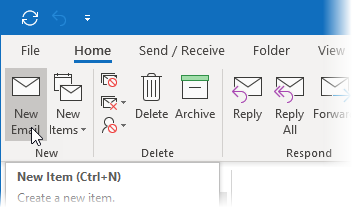
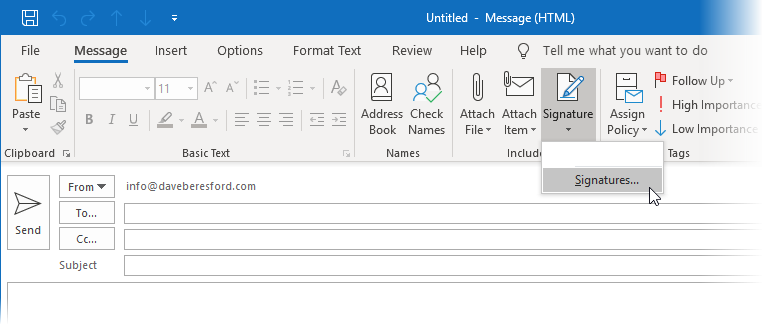
This makes the Signature drop down box available. Click the drop down and select Signatures…
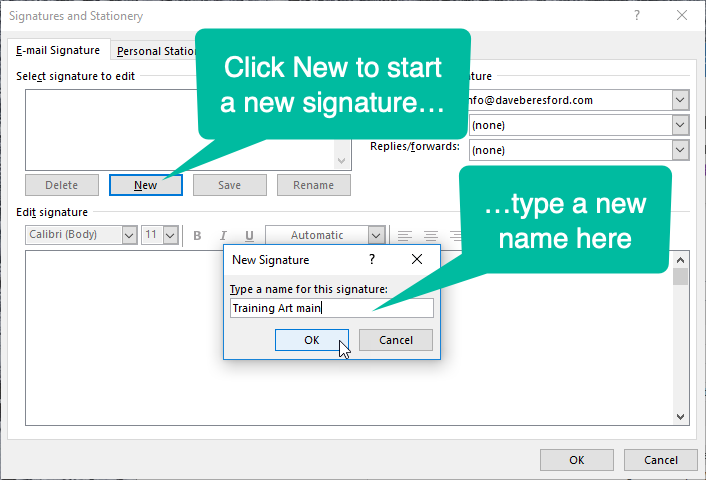
On the dialog box that appears, click the New button and name your signature sign-off text…
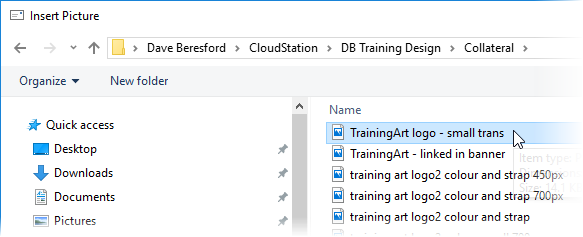
It’s now time to enter the text that you want to use at the bottom of each e-mail, and maybe even an image or two?

…then select an image or logo from your computer…
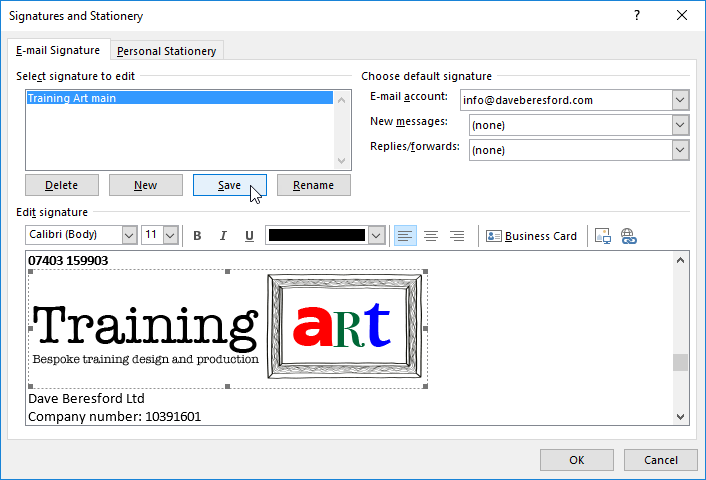
The image (in this case a logo), will appear in the area where you’ve typed your sign-off text. Now you’re ready to click the Save button. (You can of course, click New again and repeat the process if you wish to add another signature – maybe a personal one?)
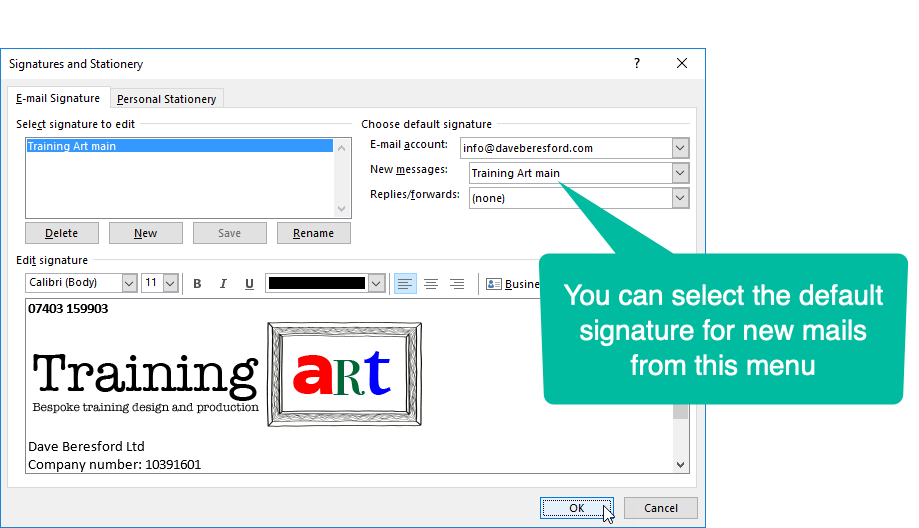
Once you’ve clicked Save, you can also choose a default signature for new e-mails…
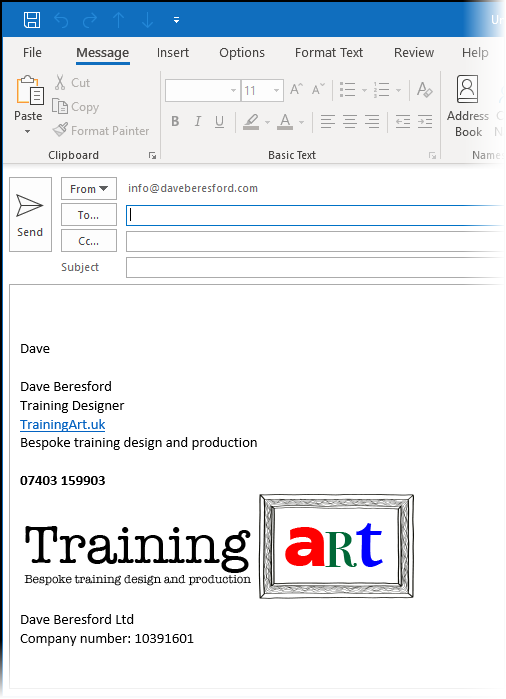
Once you click OK and start a new e-mail, you’ll see your wonderful new signature at the bottom…
If you want to be able to remember this process, I’ve summarised it in a QRG below:
Creating a Signature in OutlookWhat about creating a signature in the Mac version of Outlook?
It is essentially the same process, but the menus and dialog boxes look quite different.
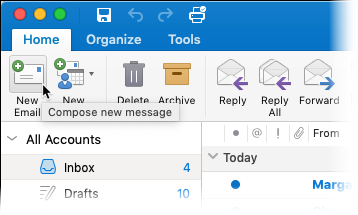
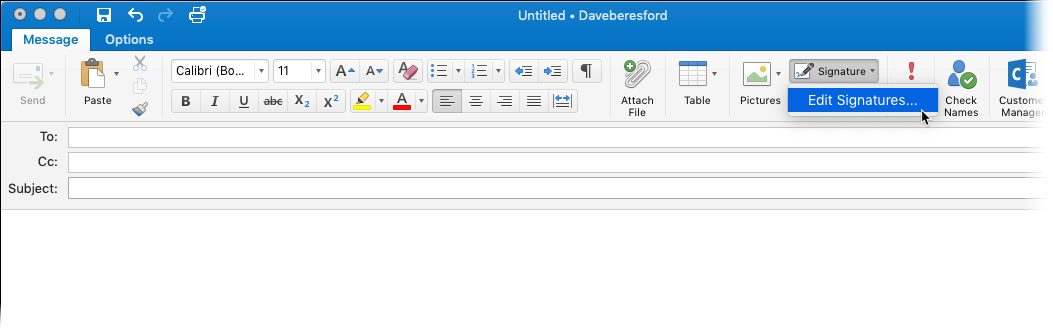
To begin with, you start a new mail as before…
…then you select Signature – Edit Signatures…
Now the first difference – you click a +, (rather than “New“)
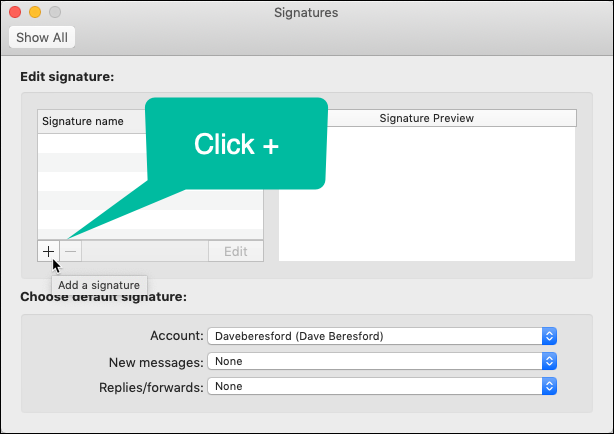
A new window appears for you to type in your new signature…
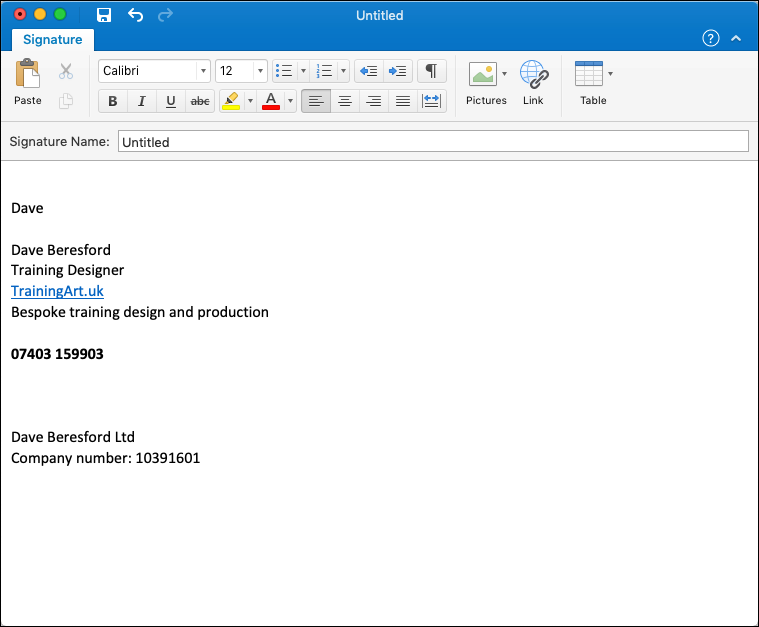
You can then name the signature at the top of this window…

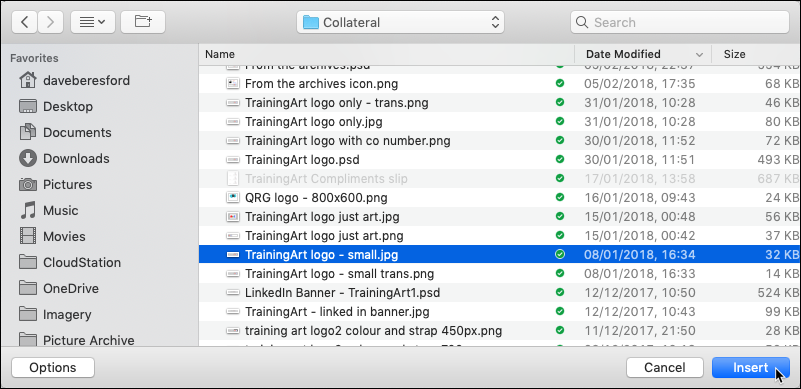
Click the Pictures icon and select Picture from File to add an image…
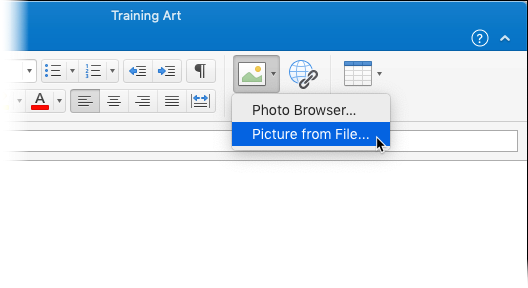
…and select the image from your Mac
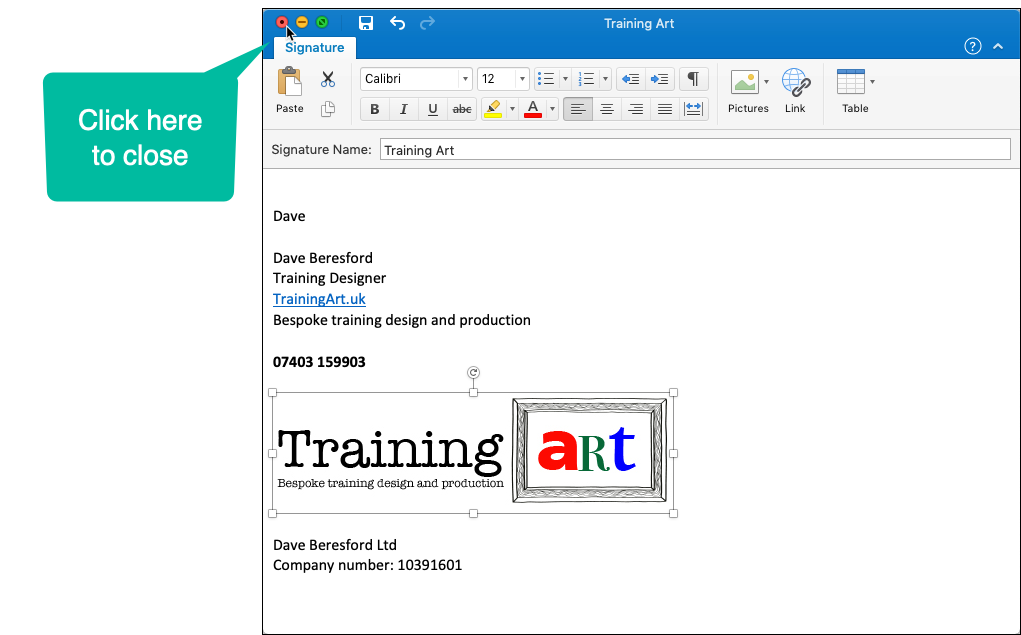
Which will then appear in the signature edit window and you can close it from there…
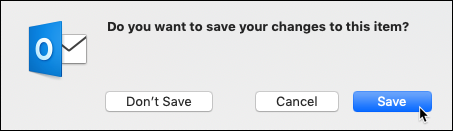
and click to Save…
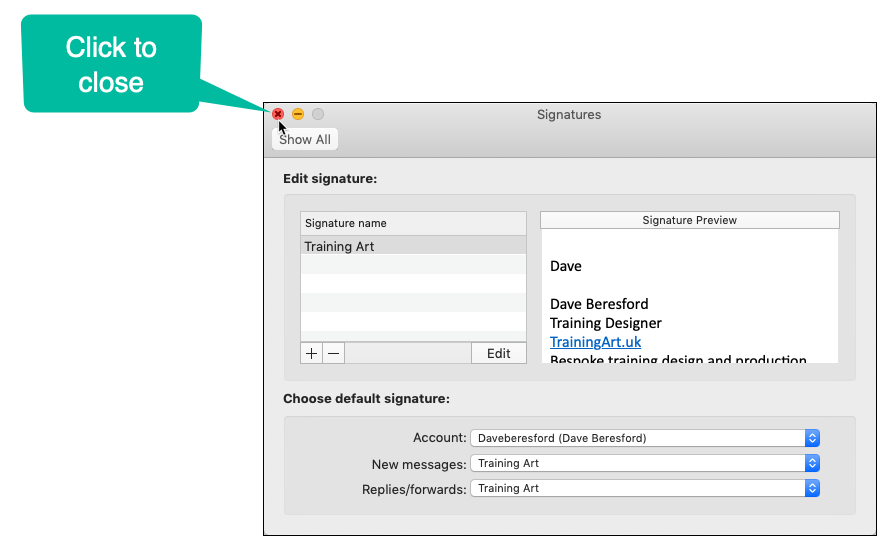
The signature is shown in the preview window and you can set the default signature for new messages or replies/forwards…
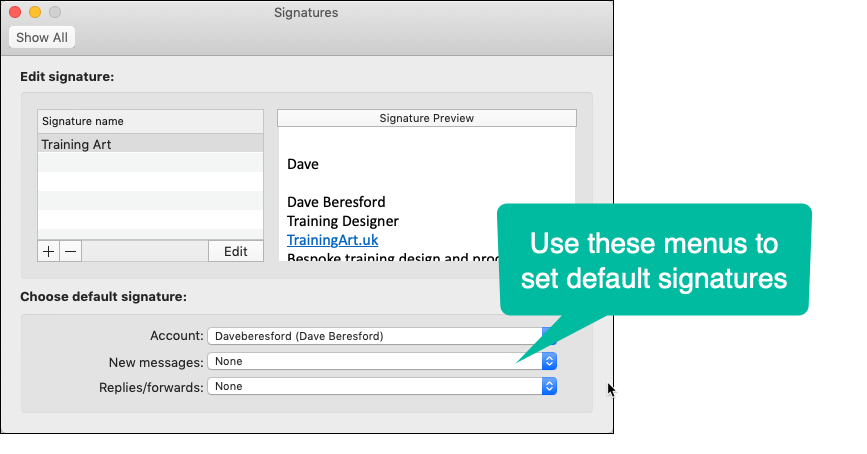
Then, you’re ready to close the window…
Now when you start a new mail, you get your nice new signature showing at the bottom…