Fancy having your photo collection available everywhere?
Yes, of course you do.
The good news is, that now it’s possible with iCloud to share your photo collection between all the devices you have and keep them available all the time.
And now that most people have more than one device in their life, it’s worth understanding how iCloud Photos works.
How it used to be…
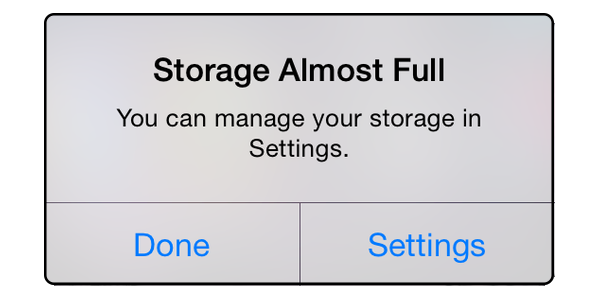
The old way to do things is have all your photos on your device. But sooner or later, you’ll run short of storage and get this hideous message…
The other problem with that approach is you are asking for trouble if your precious photos and videos are only on one device. What happens if you lose your phone or drop it down the loo?

Now Apple have given you the ability to store your entire photo collection in iCloud. (Which means a secure place on Apple’s servers – on the internet).
This gives you some major benefits:
- When you take a photo on your iPhone or iPad, it appears on all your other devices immediately
- You can save space on your iPhone or iPad
- You can share your photo collection with others
Sound good?
How does it work?
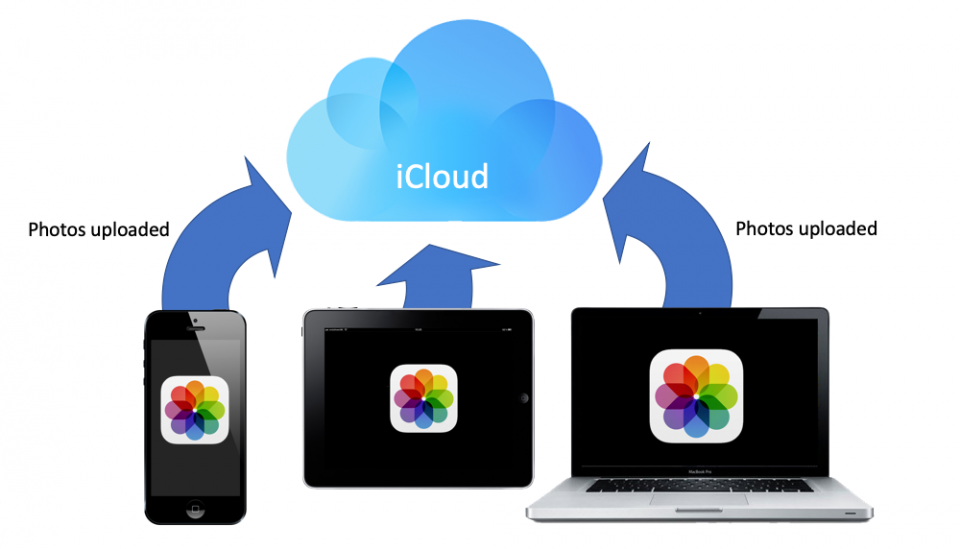
1. You activate iCloud Photos on your devices
This starts an upload process from your iPhone, iPad and even your Mac…
This can take quite a while, especially if you have a lot of photos and videos. It stores the originals (at their full size and quality) up in iCloud, (so you have to have enough iCloud storage – more about that later).
2. Take photos and videos with any of your devices

When you take a photo or record a video, it is automatically uploaded in the background to iCloud. (If you have a decent data plan on your phone you can even make this happen when you’re away from wi-fi).
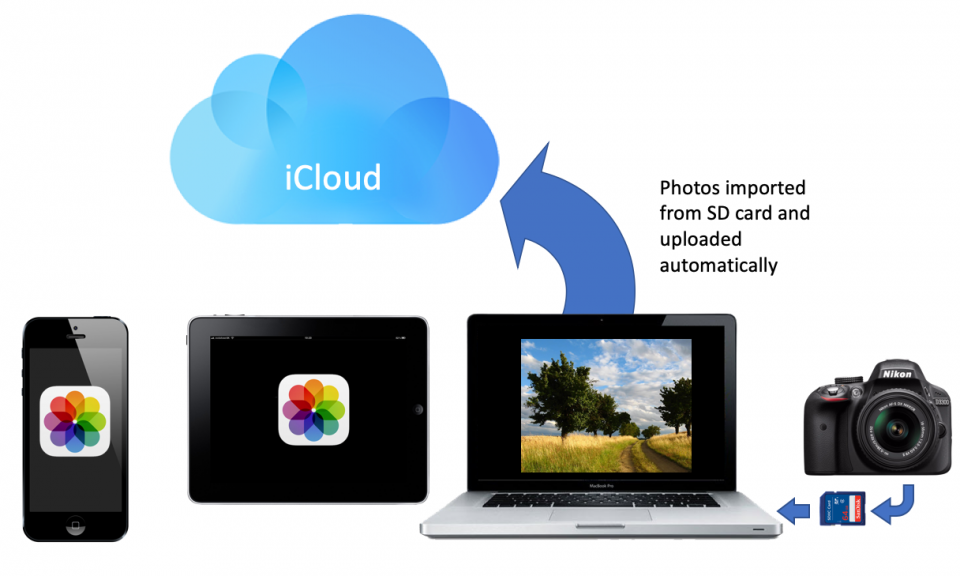
You can import photos from SD cards into the Photos app on your Mac and they will be imported to iCloud Photos as well.
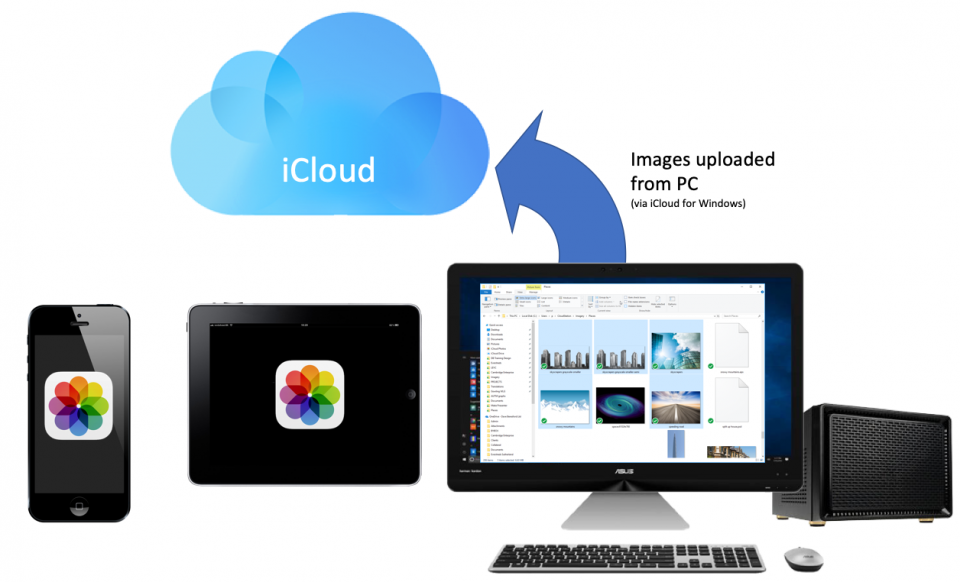
If you have a Windows PC running iCloud for Windows, you can import images from there into iCloud Photos as well.
3. View your photos or videos from any of your devices
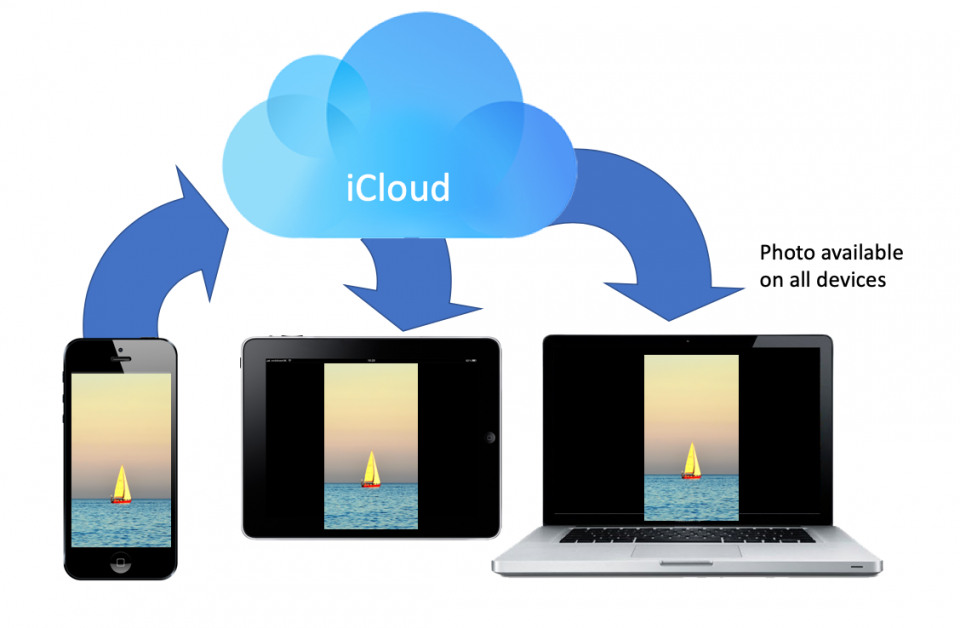
Any photos or videos you take, (on devices with iCloud Photos switched on), will be viewable almost immediately on your other devices.
4. Share your photos or videos with others
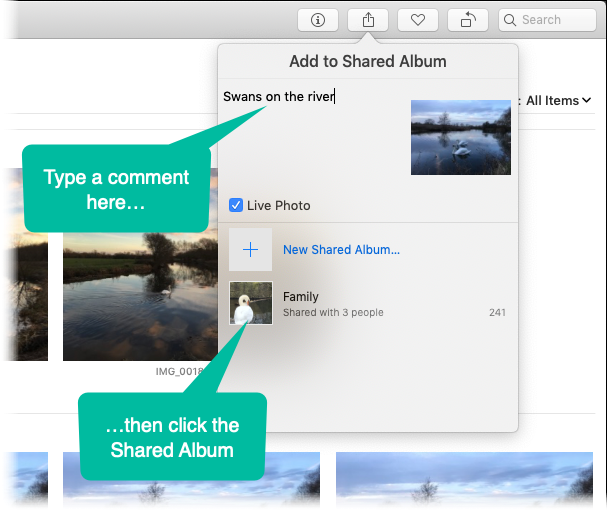
You can highlight any photos and share them. Just right-click a photo (or select a group first and then right-click one) and select Share…
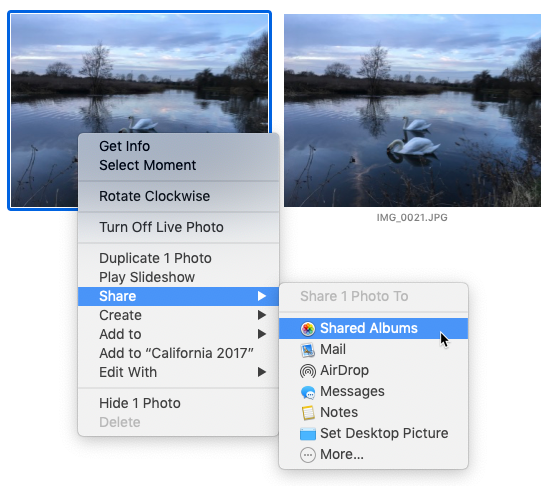
In this case, to a Shared Album…
How to set up iCloud Photos
Before you begin…

Make sure your devices are up to date
Your iPhone and iPad need to be running iOS11 or later.
Your Mac (if you have one) needs to be running MacOS Sierra or later.
See my post on checking versions here.
Your PC (if you are using one) needs to have Windows 7 or later and have iCloud for Windows installed.
See my post on how to install iCloud for Windows here.
Make sure you have enough storage in iCloud
Apple give you 5GB of iCloud storage for free when you buy a device. This probably won’t be enough unless you have a very small photo collection!
How do you check the size of your photo library?
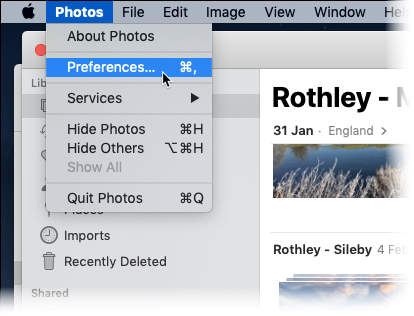
On the Mac, start the Photos app and click Photos – Preferences…
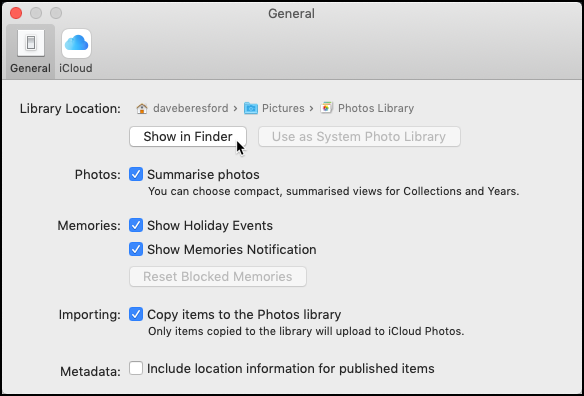
Then click on Show in Finder button…
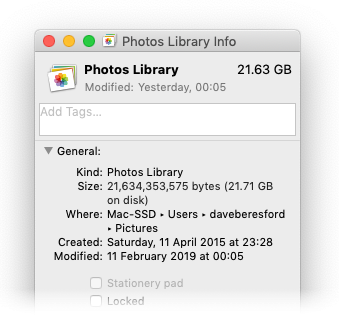
Right-click over the Photos Library file and click Get Info
Then you’ll see the size of your Photos Library as it exists now…
You can see how much iCloud storage you currently have from your iPhone/iPad by tapping Settings – [your name] – iCloud

Is this going to be enough?
If not, you can buy more storage from Apple – see this article with the prices of storage plans.
Make sure you’ve got a computer with enough storage space to back-up your Photos Library…
Strictly speaking, this is optional but…
Even Apple suggest that you should have a backup of your iCloud Photos library, rather than just trusting the whole thing to iCloud.
To be honest iCloud is very secure, but wouldn’t you really just want to have your own copy of all your photos and videos – just in case?
If you have a Mac, backing it up is easy enough. See my earlier post on that here.
So you’re probably ready now…
To switch on iCloud Photos…
On the iPhone, tap on Settings – [your name] – iCloud – Photos then slide the switch across on iCloud Photos
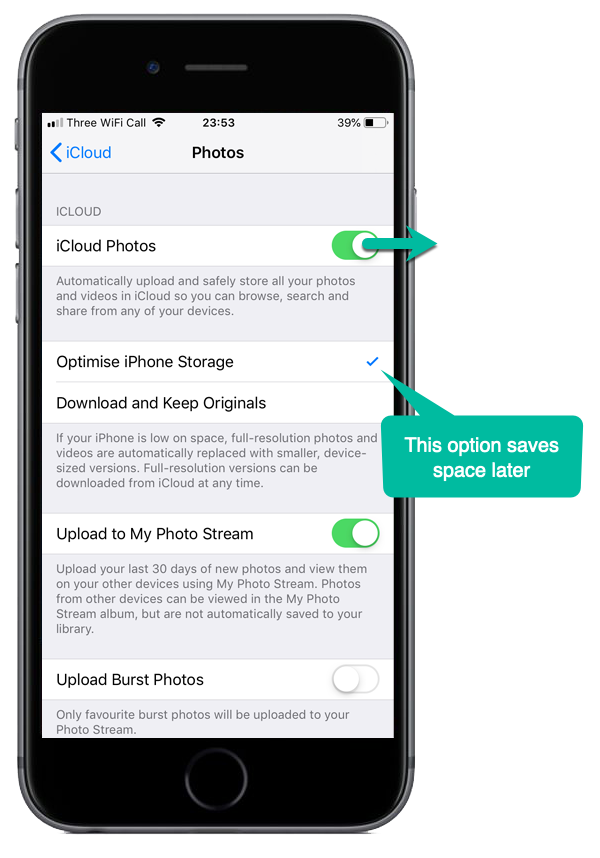
This will start the process of your photos being uploaded to iCloud in the background.
This could take a while!
Some things to remember…
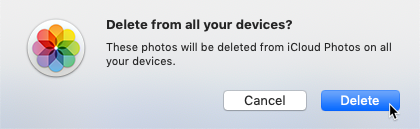
If you delete a photo or video it will be deleted from iCloud…
…and therefore all of your devices!
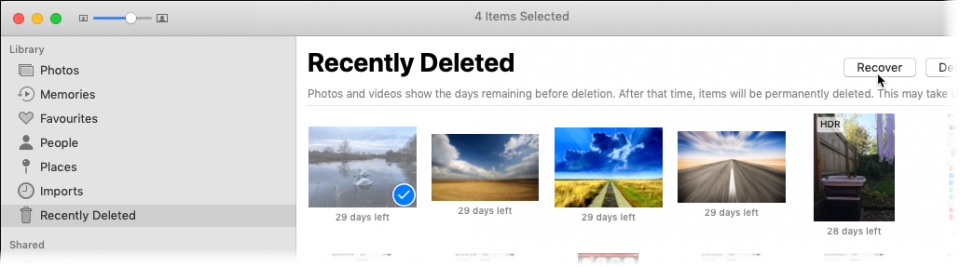
But don’t panic – you do have 30 days in which to restore it from the Recently Deleted section if you change your mind!

Highlight the photo(s) you wish to restore, then click Recover…
iCloud Photos saves space on your device…
If you opted not to keep the originals on your phone (as above), iOS will automatically store lower quality versions (optimised) of your photos and videos so that you don’t run out of space on your device.
The originals will normally live on your Mac as well…
This is a useful backup of your iCloud photo collection, but if you have more than one Mac, and let’s say one of them is a Mac laptop – you might not want its disk to be filled up with another copy of your photo collection.
To stop your Mac having a copy of the photos stored on it’s drive:
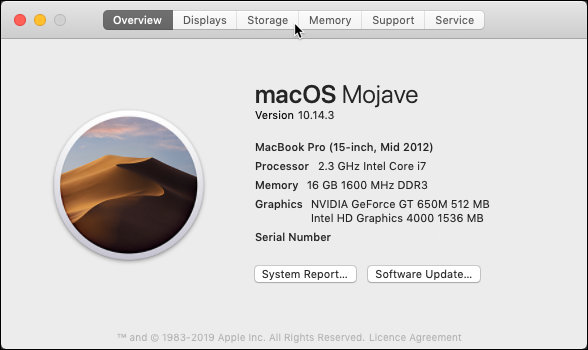
So go to Apple menu – About This Mac
Click Storage…
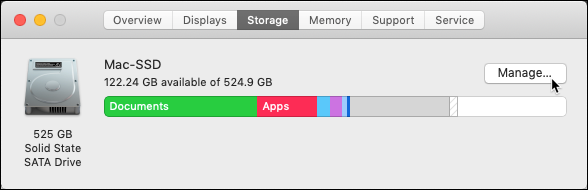
Now click Manage…
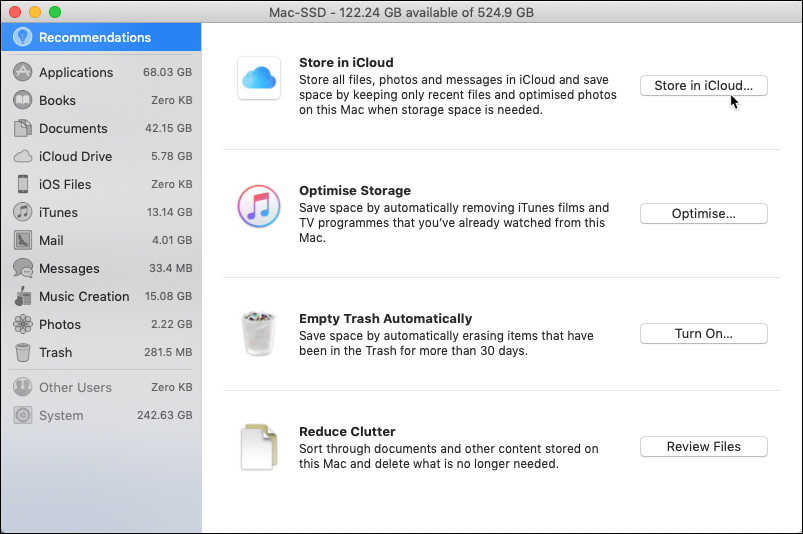
Click on Store in iCloud
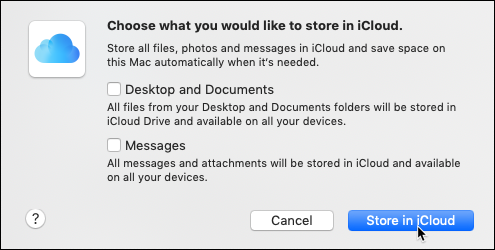
Choose any other options you want (like your documents stored in iCloud Drive) and then click Store in iCloud.
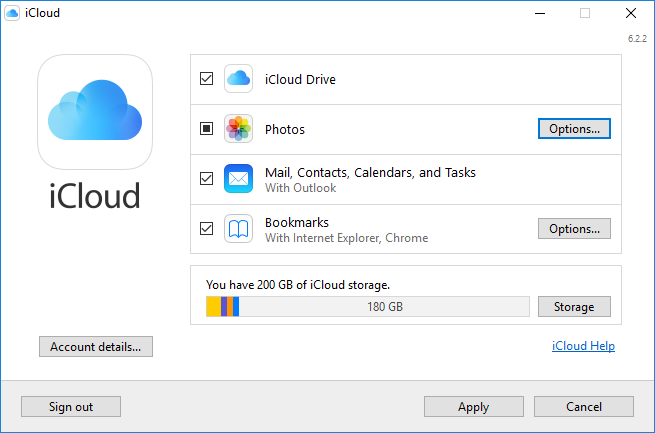
You can upload and download from a Windows PC
If you have installed iCloud for Windows (see this link for how to do this), you can set it to automatically download all new content, (a useful backup) or upload any pictures or videos you have on your PC into your iCloud collection..
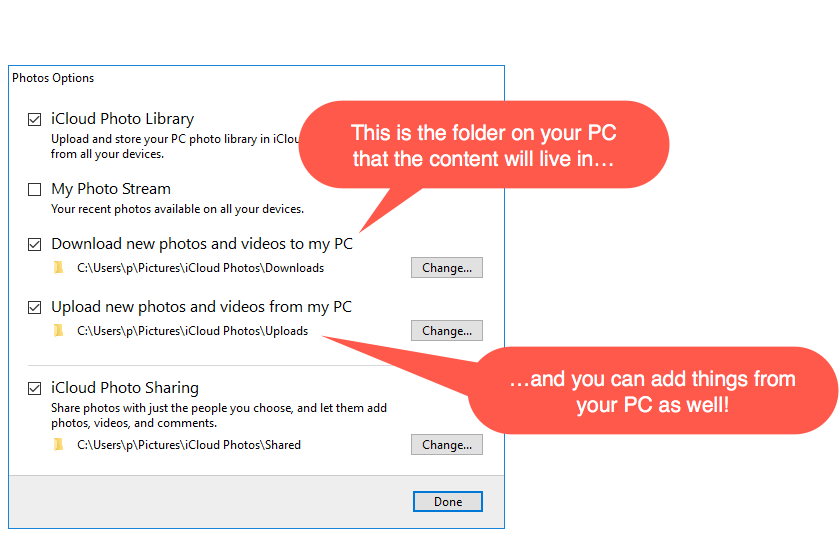
Next to Photos on the iCloud for Windows dialog box, click Options…